

Over the week-end, I made up a batch of new cloth napkins for our family. They were really quite easy to make, so I thought I'd write up a quick tutorial.
I personally like my napkins on the bigger side, so I started by cutting out the main fabric into 15 x 15 inch squares.
I had some shot cotton in my fabric stash that is a bit thinner than regular quilting cotton, and cut out 1 inch strips of this, joining them all together at the ends to make a continuous strip of the 1 inch wide fabric.I'm sure you could also use regular cotton for the edging, or even linen.
Once again,
15" x 15" main napkin fabric
continuous 1" narrow strips of "binding" or edge fabric.
On the back side of the main napkin fabric, I sewed the 1 inch strip all along the edge.


The corners, I treat as you would a quilt binding, stopping a quarter inch from the end, leaving the end of the needle in the fabric (or not), folding the corner up creating a 45 degree fold, then sewing down the other edge.
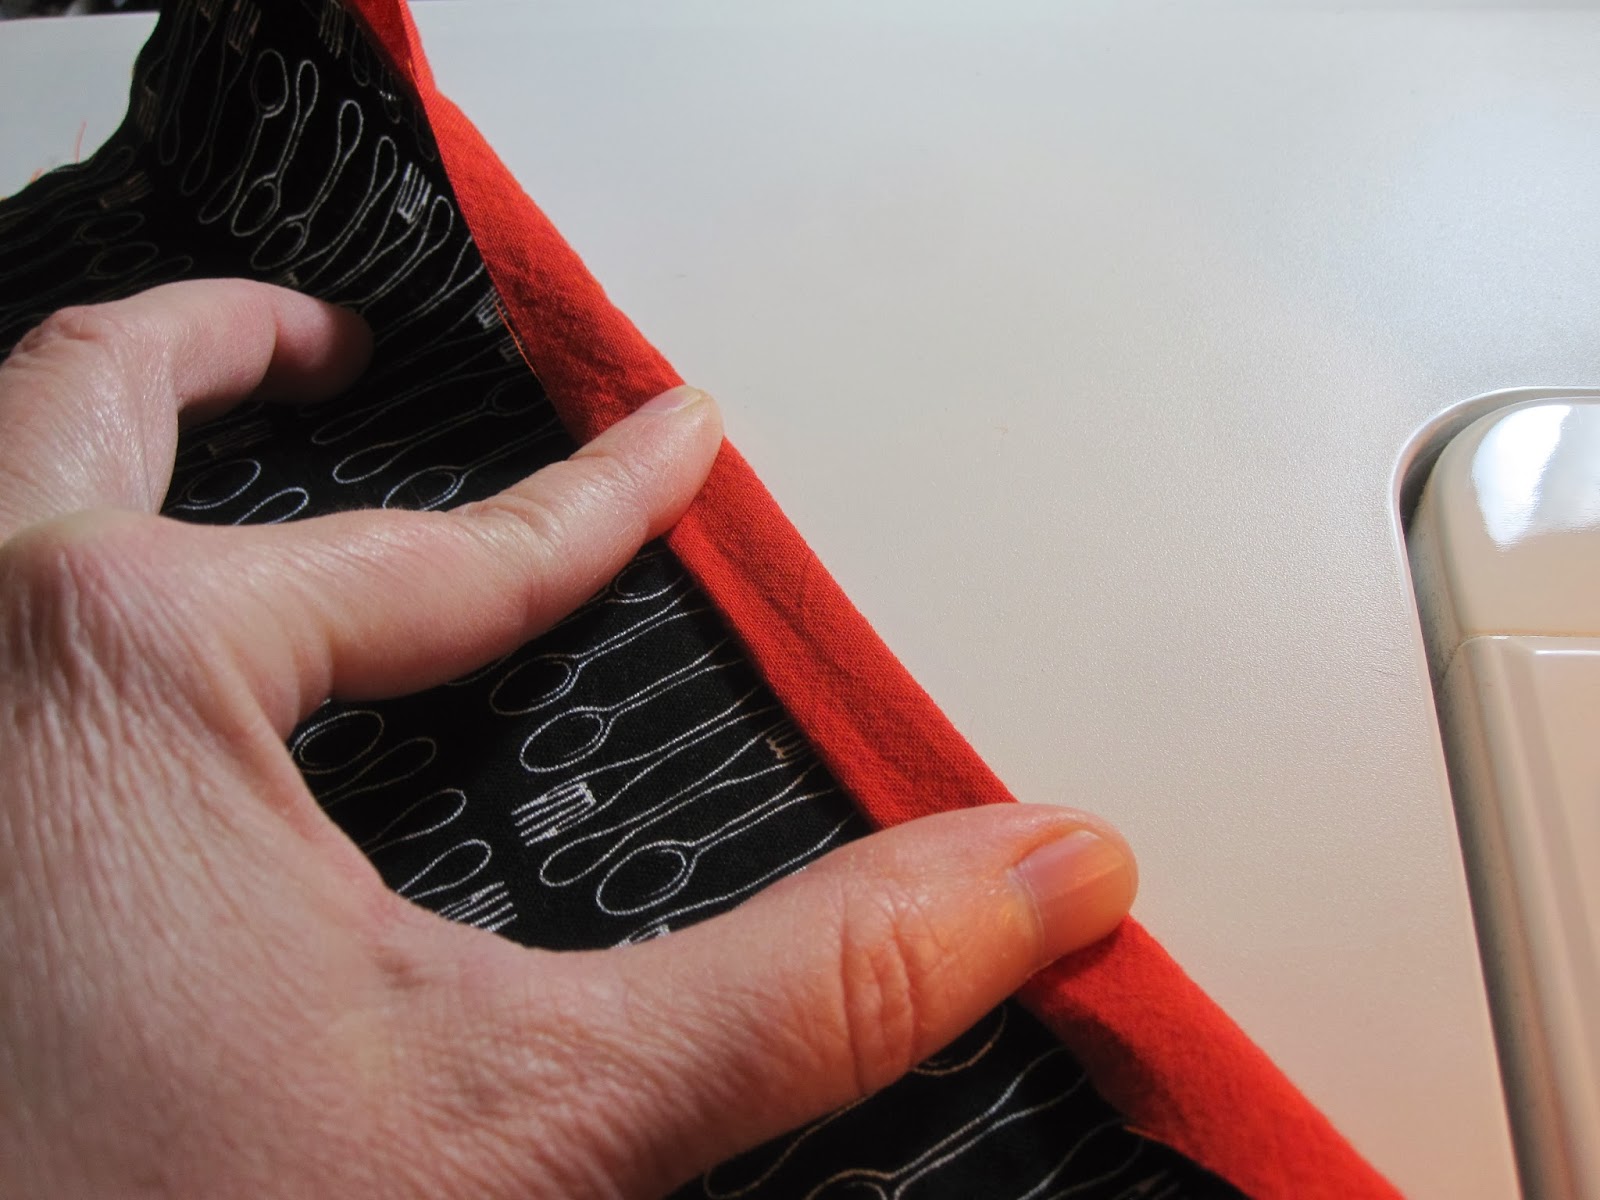
Then I flipped the napkin over, and folded the edge of the binding edge over to meet the edge of the seam, then the whole thing over to the front, or a double fold hem that encloses the raw edges.


Then it was just a matter of stitching a decorative stitch with a contrasting thread color onto the top!


I love how you used the decorative stitching! I need to do that more.
ReplyDeleteI do not usually like the machine embroidery stitches but seeing them on your napkins you have changed my mind they wok very well here, maybe I will start using mine now! Thanks for the close up of the mitred corner, will be using that soon when I bind my first quilt.
ReplyDeleteVery nice option for those finished edges!
ReplyDelete